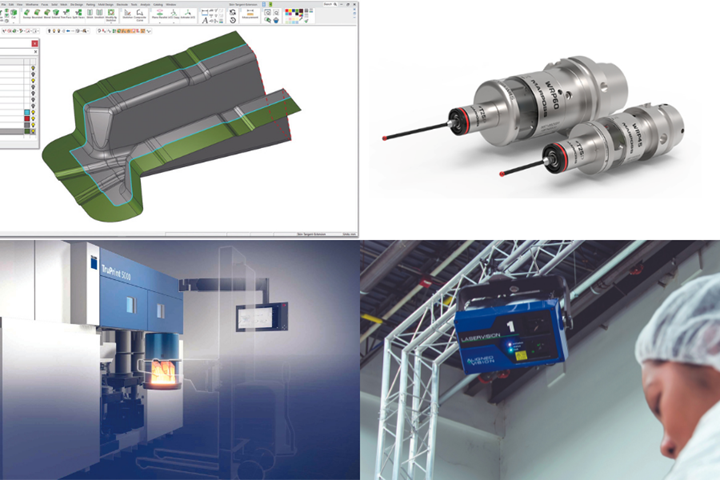
Photo Credit: (top left) Cimatron, (top right) Marposs, (bottom left) Trumpf and (bottom right) Aligned Vision.
Innovations will be abundant at IMTS 2022, which takes place at McCormick Place in Chicago, Illinois, from September 12-17. Professionals from all over the industry will be present to showcase their new products and services, and attendees will get a glimpse of the future of manufacturing as they peruse the show floor.
To prepare you for the event and help familiarize you with some of the products and exhibitors that will be present, MoldMaking Technology has compiled its product coverage below. Click on the company name to be taken to the full product post and learn about what you can expect to see at IMTS.
This installment features software, inspection, measurement and other innovations, but be sure to keep an eye on MMT’s website for more exhibitors and products to be featured in the lead-up to the event (see “Machining and EDM Innovations to Look for at IMTS” and “Cutting Tools at IMTS 2022 Geared Toward Mold Manufacturing”).
Injection Mold Guiding System Precisely Positions Mold Halves, Mold Components
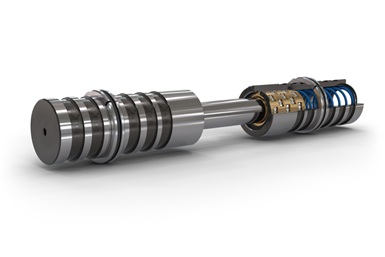
Agathon Machine Tools displays its all-in-one system, the Guide System Plus, to meet increasing productivity demands and reduced production cost. The system performs guiding and centering tasks for the precise positioning of mold halves/mold components.
By design, each bushing and pillar comes with a freely positioned retaining ring that is adjustable to various plate thicknesses for improved adaptability when repairing or converting tools to newer guide systems. One component can be used in multiple designs.
Automatic Inspection System Performs Comprehensive, Real-Time Surface Inspections for 3D-Printed Molds
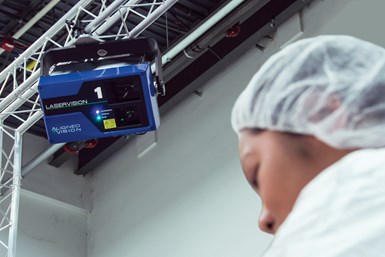
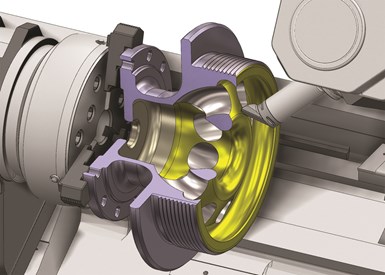
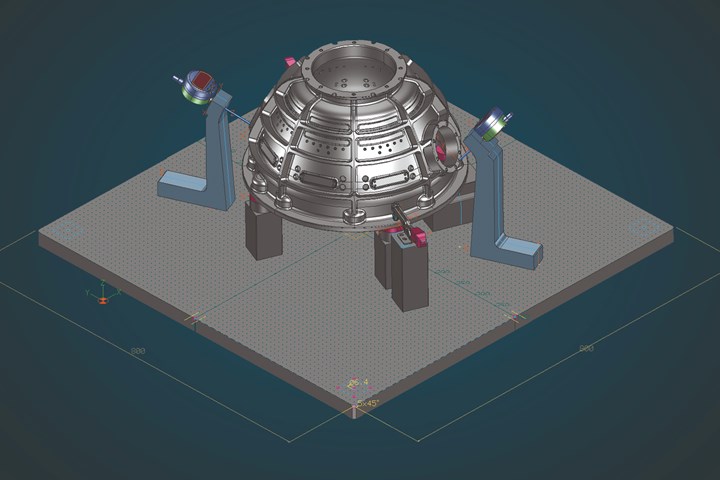
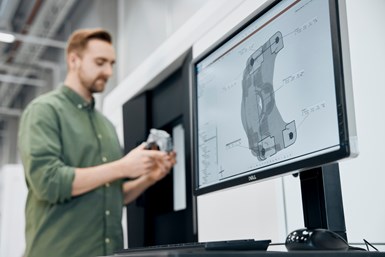
Aligned Vision introduces LaserVision, an automatic inspection system with laser feedback to be used on large molds and other structures built via large-scale additive manufacturing (AM). LaserVision performs comprehensive surface inspections in real time, enabling moldmakers to quickly detect continuities, droop, drool and other flaws. It also captures detailed images and analyzes regions of interest anywhere on a complex surface (typically up to 5 x 5 m).
LaserVision performs inspections while production continues, a feature that is said to be the single most important function for mold builders: The system operates from a stationary position outside the AM work envelope and does not interfere with the AM deposition head. LaserVision is also said to accelerate corrective measures by projecting a laser pattern to highlight any anomalies in real time.
IMTS Exhibitor Shares Sustainability and Hybrid Manufacturing Presentations, CAD/CAM/CAE Software Demos
Autodesk Inc. is demoing its Fusion 360 software. According to Autodesk, Fusion 360 helps mold builders plan, design and optimize their tools using a single, unified, cloud-based CAD, CAM and CAE platform. The ability to use a single platform throughout their design reportedly streamlines workflows and enables quick project collaboration and project management. The addition of Fusion 360 Extensions also introduces more advanced operations, such as programming automation, simplified toolpath modification, part inspection and even injection mold cavity filling simulation, each accessible without exiting Fusion 360 software.
Recent updates include a Machining Extension, advanced four- and five-axis simultaneous toolpaths and more accurate part inspection. Autodesk’s Certification Program offers eight role-aligned, industry-validated certifications in Fusion 360 CAD and CAM workflows.
Precision Handheld 3D Scanner Delivers Fast Digitization for Large and Small Molds

Capture 3D brings the Zeiss T-Scan hawk to IMTS 2022. This handheld 3D laser scanner rapidly collects precision 3D measurement data and offers GOM Inspect 3D inspection software, integrated photogrammetry, multiple laser sources and three application-focused scanning modes. Ultimately, it is said to provide the flexibility needed to accomplish various tasks, including scanning a range of small to large molds.
The lightweight scanner projects a scanning area of 550 mm x 600 mm, with a scanning resolution of 0.05 mm with multiple scan lines, and 0.01 mm with single red lines. The three scanning modes offered include red crosses for larger measurement areas; blue lines for dark, shiny or reflective surfaces; and a single red line to reach difficult areas and deep pockets. Users can change scanning modes by pressing a button on the handle, even while a scanning is in session.
Surface-Based CAM System for High-Accuracy 3D Machining
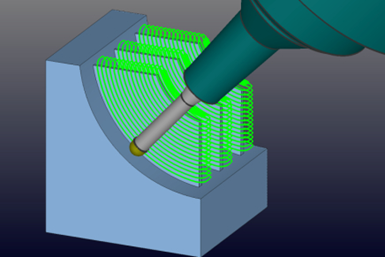
CAM-Tool by CGS North America is a surface-based CAM system that specializes in high-accuracy 3D machining. The software is said to offer a variety of toolpath options for a variety of applications to ensure optimal machine movement. Specializing in the mold and die industry, CGS says that CAM-Tool has helped mold builders who need to eliminate spotting or polishing, including automotive lens mold builders and medical customers.
According to the company, customers under maintenance are given unlimited supports calls at no extra charge. CGS North America’s services are also backed by a comprehensive team, ensuring access to the highest accuracy toolpaths available and 24/7 support.
CNC Simulation Software Focuses on Smarter, More Informed Mold Manufacturing
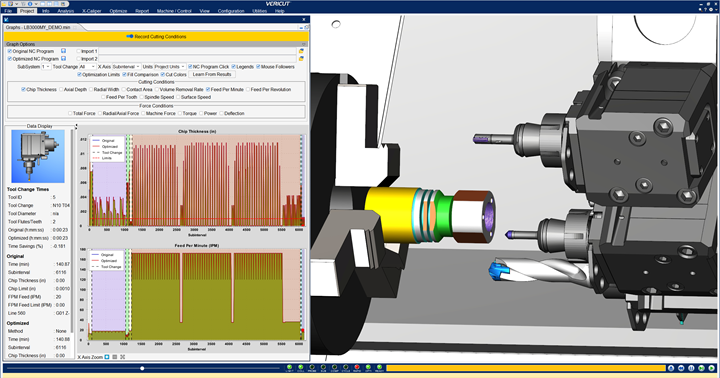
CGTech provides demonstrations of the latest version of its CNC simulation software, Vericut 9.3. This release focuses on creating “smarter,” more efficient manufacturing processes, CGTech says, by incorporating data from the machine, tools and stock material to improve the quality of the simulation and the manufacturing workflow. Version 9.3 is said to bring notable improvements for manufacturers in moldmaking, specifically within Force optimization.
Force, Vericut’s physics-based optimization module, reduces cycle times, improves tool life and prevents undue wear on CNC machines. According to the company, Force does this by optimizing feed rates and spindle speeds for each cut in an NC program to achieve a constant maximum chip thickness. The latest improvements to Force limit tool deflection, which enables users to achieve better machined part quality and improved surface finishes, as well as long tool and spindle bearing life. These deflection calculations have been expanded to account for the entire rotating tool assembly, including holders, indexable mills and CAD models used as tools.
CAD/CAM Software Equips Toolmakers with New Features, Functions
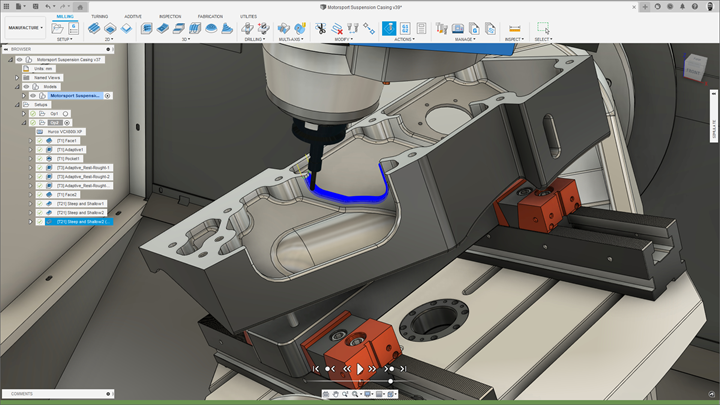
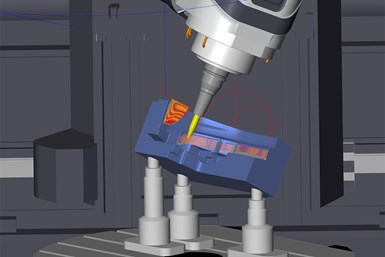
Cimatron presents its v16 CAD/CAM software release at IMTS 2022, introducing new and enhanced capabilities to equip toolmakers across the spectrum to deliver higher quality tools — including molds, dies and electrodes — faster and easier.
Cimatron 16 is said to expands NC automation with several important features. Three-axis Rough & Volume Pocketing now supports automatic selection of multi-cutters of different lengths to achieve less tool vibration and faster speeds. Milling pockets of multiple heights and depths is now a one-step routine with the redesigned Pocket Manager. Plus, Cimatron says, users can copy and paste geometry between procedures, as well as import cutters, holders and extensions directly from external data interface files (STEP & IGES) from tool suppliers.
Advanced Software Features Latest Functionalities to Improve Productivity Tools Critical for Moldmaking
Attendees at the IMTS 2022 are said to be experiencing the most powerful machining software from CNC Software LLC to date, Mastercam 2023. Visitors can investigate the latest functionality of Mastercam, many of which are geared toward mold builders, at booth #133222 and at the Student Summit booth #215200. The software will also be on display throughout the IMTS show floor, with over 40 parts being programmed in Mastercam partner booths such as MC Machinery ($338129), Okuma (#338500), DN Solutions (#338900), and Fanuc (#338919).
Meanwhile, in the main Mastercam booth, Mastercam partners, resellers and employees will be giving presentations every hour Monday-Friday on many different topics and features.
Industry 4.0 Zero-Point Tooling System Provides Operational Security
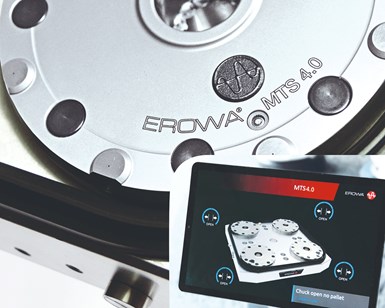
Erowa Technology’s modular tooling system (MTS) 4.0, on display at the company’s IMTS booth, is claimed to be the first zero-point tooling system with wireless digital status monitoring. With integrated sensor technology, the MTS 4.0 maximizes process safety by monitoring the tooling system where the machining process takes place, ensuring that the status of the chuck is always known. Moreover, through sensor data, new evaluation options are created, which enable focused reports on the chuck status.
In contrast to conventional zero-point tooling systems, Erowa says, monitoring sensors were specifically designed for the MTS 4.0. Each of the four chucks in the MTS 4.0 base plate are equipped with a sensor to check the presence of the workpiece holder and to monitor the actuating piston. There is also a force sensor to measure the clamping power. Similar to previous MTS versions, the chuck is operated with compressed air for opening, reclamping and cleaning functions.
Noncontact 3D Measuring Equipment Achieves Accurate Molding Operations
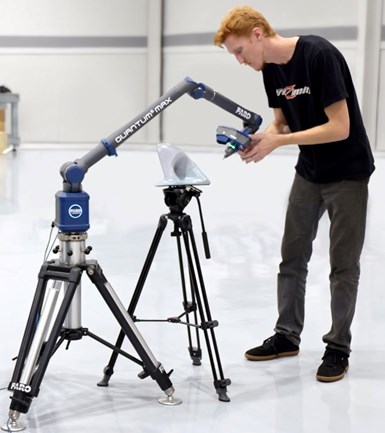
Molding operations are high intensity and precision oriented. Accuracy is critical, so the ability to measure dimensional geometries to the highest degree is the key to ensuring quality. FARO Technologies says its 3D measurement equipment, Quantum Max ScanArms, which is highlighted at its IMTS 2022 booth, is an ideal noncontact solution for this kind of application need.
By gathering comprehensive point cloud data and turning that data into 3D models, operators using the Quantam Max ScanArms are said to be able to detect the most minute nonconformities. This data can also be used to reverse-engineer first-article products to build a better, more accurate mold, the company adds, or create one where none exists, resulting is a more efficient, faster process that reduces errors and costly rework while meeting strict guidelines and certifications.
Grip Vise System Easily Adapts, Conforms to Workpiece with no Preliminary Machining
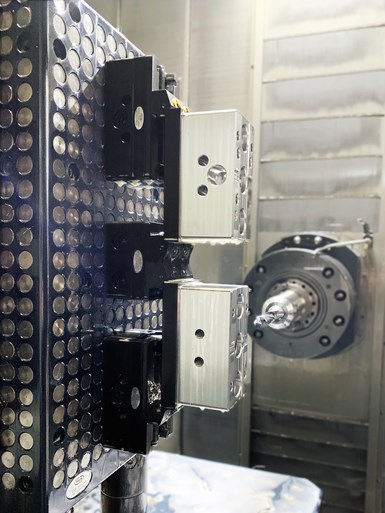
FCS North America presents grip vise systems, Mono-Sliding, Double Fix and Self-Centering clamping models, to general metalworkers and moldmakers at IMTS 2022 that requires no preliminary machining of the rough workpiece and easily clamps and centers workpieces within a position accuracy of ±0.02 mm. The Grip Vise, which has a minimal compact gripping mechanism starting at 2.5 or 5 mm, is also available to hold the part. Moreover, the forces generated to clamp the workpiece are divided between two axis lines, resulting in minimal deformation of the part, FCS notes.
The gripping jaws come in a variety of sizes and features with two interchangeable, independent inserts, providing maximum adaptability and conformity to the dimension and shape of the workpiece for mold manufacturing. Different insert types can be selected, whether for a rough, non-finished surface or finished surface application. It also enables direct setups for five-axis machining with minimal part intrusion.
CAM Calculator Optimizes Part Cost, Cycle Time Computation
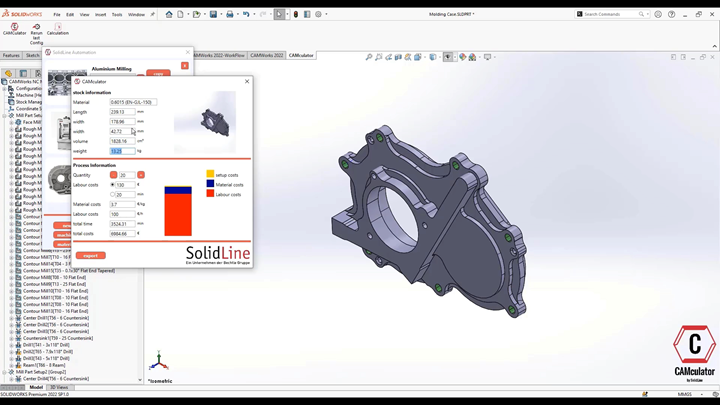
German-based PLM systems company, Solidline GmbH, expands its CAM solution offerings to the U.S. through a partnership with HCL Technologies, the developer of the HCL CAMWorks programming solution available for machining centers, turning, mill/turn and wire EDM applications. The company releases Solidline CAMculator, a tool that can calculate cycle time used from CAM model data to ultimately program and calculate the cost of an entire component. Solidline CAMculator supports the automation and costing of parts for up to five-axis simultaneous machining.
Traditionally, costing is calculated using old stock, estimated values or trial programming. However, HCL Technologies notes, the use of data based on the actual NC code of a part enables companies to reduce calculation time and labor while also reportedly achieving repeated accuracy and company-wide consistency. This capability is key for moldmakers, the company adds.
Metrology, Automated Wireless Data Collection Target Quality Mold Measurement Practices
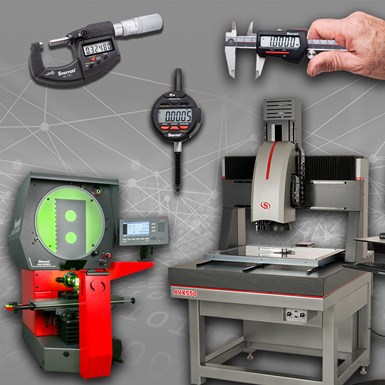
The L.S. Starrett Co. demonstrates its latest offerings in quality control inspection technology at IMTS 2022, booth #135044, located in the Quality Pavilion, East Hall. Supporting Industry 4.0, IoT and the Digital Factory, attendees will be able to see live demonstrations of U.S.-made high-speed automated wireless measurement data capture and transmission from handheld wireless/electronic gages via the new DataSure 4.0 wireless data collection system, or from multi-sensor vision systems and optical comparators via integrated software. Various inspection and measurement systems will also be on display, as well as custom gage solutions, granite surface plates and gage blocks.
Probing Line Comes With Multichannel Radio Transmission for Highly Accurate Die and Mold Measurements
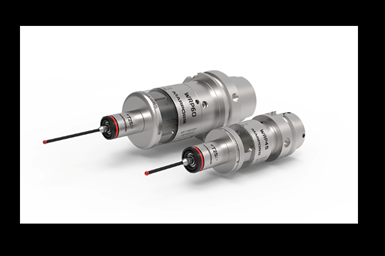
Marposs demonstrates its WRP60P high-accuracy touch probes with multichannel radio transmission. These probes are designed for high-accuracy five-axis machining centers and milling machines, which address high-precision industries such as die and mold, aerospace, aeronautics and biomedical, redefining the rules of machine part measurement.
Through automatic detection of machine axes position, the WRP60 is reported to achieve part positioning, workpiece orientation and origin identification, as well as accurate part measurement. Based on piezoelectric technology, Marposs says the probes provide excellent measurement performance on 3D surfaces with repeatability within 0.25 µm. Moreover, the WRP60 is said to go beyond other high-precision probes in that it is not sensitive to noise and vibrations. Relying upon a special filter, the probes are able to distinguish false-triggering events from actual touch events.
Smart Training Solutions Presented to Industry Employers, Educators
The National Institute for Metalworking Skills (NIMS) offers new on-the-job-training (OJT) solutions, which attendees will be able to learn more about at IMTS 2022, booth #215618, located on the lower level of the North Building of McCormick Place where the Smartforce Student Summit is taking place.
NIMS says employers and educators can learn all about the institute’s “Smart Training Solutions” framework — flexible and data-driven — that is said to be providing excellent results among employers that implement it. A key feature of the NIMS’ Smart Training Solutions is that they are based on what employers need and what is necessary for an employee’s particular role, rather than conventional, superfluous programs. For example, if a moldmaker wants his/her workers to know how to measure the precision mating surfaces of cores and cavities, then that’s exactly what they are able to learn. Knowledge is also measured and validated.
CAD/CAM Software Enhancements Highlight More Efficient, Accurate Programming and Machining Functions
Open Mind Technologies USA highlights the advanced capabilities of its latest hyperMILL CAD/CAM software suite at IMTS booth #133351 located in the Controls and CAD/CAM Pavilion, East Building. Efficient programming and machining strategies in high-performance hyperMILL enable accurate, efficient 2.5D, 3D five-axis and mill/turn machining, the company says.
Developed with Industry 4.0 in mind, Open Mind will be featuring hyperMILL Virtual Machining — a particularly beneficial function for moldmakers — which provides postprocessing, and G-code simulation including a Virtual Machining Optimizer which offers solutions to improve toolpaths that are traditionally calculated in the CAM engine. Open Mind says the Optimizer also incorporates knowledge of the part model, tooling the toolpath calculation and collision check engine, as well as the machine tool model with its physical constraints. New, improved linking logic in hyperMILL Virtual Machining Optimizer for five-axis table-table machines will be highlighted at IMTS as well.
Parametric Design Software Drives Mold Manufacturing Automation and Efficiency
Tebis America recently launched its third release of Tebis 4.1, a complete
CAD/CAM system to drive automation and efficiency throughout the mold building process through the ability to perform tasks in design, manufacturing preparation and NC programming in a single system.
In the most current version, Tebis says the software system offers up to 85% faster programming, which in turn improves efficiency. The technology also enables mold builders to reduce manual intervention in CAM programming and calculate entire NCJob sequences at once by automatically applying interactively defined milling areas from previous NCJobs. CAM programming is also simplified and Tebis 4.1 reduces calculation time, additional features that company believes are important benefits for mold manufacturing.
Preheating Capabilities Facilitate High-Quality 3D-Printed Tool Steel for Tool and Die Industry
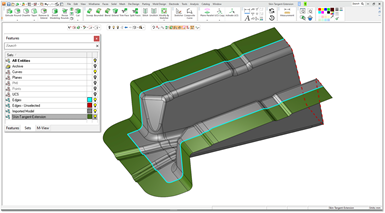
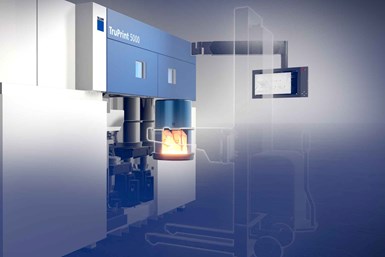
In booth #433037 at IMTS 2022, Trumpf displays the capabilities of the TruPrint 5000, which now include reliable 3D printing of standard tool steel H11/H13 (1.2343/1344). The TruPrint 5000, a highly productive, automated metal 3D printing machine, is said to create new possibilities for the tool and die making industry as a result of its preheating capabilities.
Previously, toolmakers could not 3D print carbon tool steel, as the material often cracked when returning to room temperature after laser processing. Now, Trumpf says, the TruPrint 5000 3D printer can be preheated to 500ºC (932ºF), which reduces the temperature drop following laser melting and significantly improves material and surface quality of carbon steels. Moreover, the machine’s automatic process start enables for fast setup, and the build and supply cylinders can be exchanged quickly and safely for work parallel to production, ensuring a high machine utilization rate.
One-Button Computed Tomography Tool Delivers Rapid Mold Validation Results
Zeiss Industrial Quality Solutions features an entry-level solution for the nondestructive inspection (NDI) of parts and components at IMTS 2022, booth #135502. The Zeiss Metrotom 1 is a compact computed tomography (CT) system that is said to deliver precise and rapid mold validation results compared to existing methods like CMM or optical, while still ensuring an easy operation process.
To inspect with the Metrotom 1 — from capturing 3D volume data, to analyzing it — Zeiss says users simply need to place the part in the system, press the button and analyze the measurement results, eliminating time spent learning the machine. For mold builders, the ability to perform a fast Design-of-Experiments to dial in the molding machine parameters, is an important functionality, according to the company. Matched to the hardware is GOM Volume Inspect software, equipping the machine with more volume functions. Zeiss says investing in additional software for a detailed analysis of the measurement data is not necessary.
RELATED CONTENT
-
November Product Highlights
In this most recent roundup, MMT continues to present the breadth of new or proven technologies that target the moldmaking industry, from cutting tools to software to molding-related products, that have been shared this month.
-
Technology and Sourcing Guide 2023: Inspection/Measurement
Inspection and measurement equipment includes all of the tools and devices used to verify that mold and part dimensions conform to the tolerances required by the part’s design
-
Software Strategy for Automated Mold Inspection
Consider inspection software with a CAD/CAM platform that supports model-based definition, works with all CAD files, and drives all fixed and portable CMMs.


