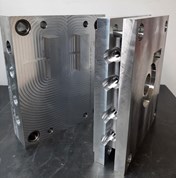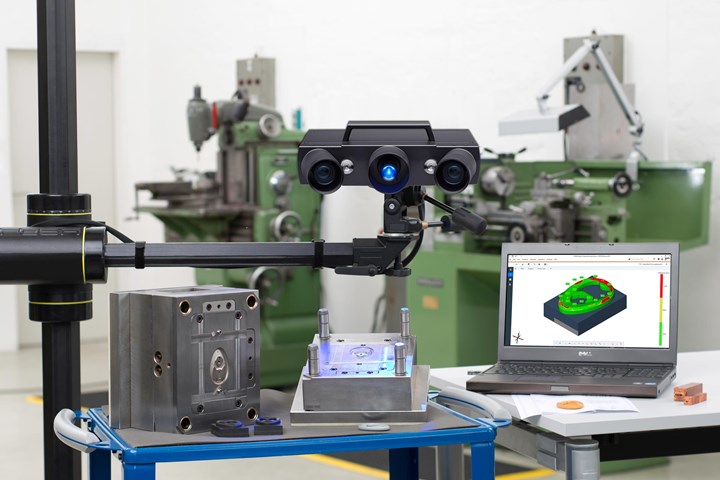
Non-contact blue light 3D scanning expands measurement and inspection capabilities for mold manufacturers. Photo Credit: Capture 3D
Quality control technology delivers a profitable return on investment, especially for mold builders with complex molds and tight-tolerance requirements. Achieving precise accuracy, efficiency and reduced tuning loops bolster return on investment (ROI) while meeting customer and project demands with ease.
However, finding the right quality control technology is critical. While traditional methods reliably complete standard measurement and inspection, they don’t offer the additional benefits of digitization. That’s why mold builders are choosing non-contact blue light 3D scanning to unlock these advantages.
Featured Content
Here are five things every mold builder needs to know about non-contact blue light 3D scanning to understand the value of accurate digitization in moldmaking processes:
1. Non-contact blue light 3D scanning collects full-field data that generates a digital twin.
With an accurately digitized 3D blueprint of their tooling and part, mold builders know more about what’s happening within their processes. In addition to CAD and part-to-part dimensional comparison, another widespread use is archiving 3D data from the final tooling for future reference. For example, the 3D data from the final tooling serves as a benchmark for quality because it maintains the required specifications even as it wears over time, or after changes and modifications. This archived data is easy to access and retrieve if another mold is needed. Retaining the digital twin enables quick comparisons of the part’s condition throughout its lifecycle to achieve optimal quality control.
2. You can use this technology throughout the moldmaking process, from the mold design to the final part.
By capturing enough data to support confident decision-making, these 3D scanners accelerate processes from mold design to production. Unlike tactile measurement methods, time isn’t lost to programming or wasted on searching for the problem during mold tryout and correction. Instead, accurate, full-field data expedites the corrective action, resulting in a good part that is made faster.
Accurate, full-field data expedites the corrective action, resulting in a good part that is made faster.
3. Non-contact blue light 3D scanning effectively reduces iterations and tuning loops.
This method of collecting and analyzing data is a shortcut to reducing the number of tuning loops or iterations to achieve a faster time to market while cutting wasteful costs. In addition, these accurate 3D scanners enable 3D data visualization with color maps, allowing you to decipher and communicate issues quickly.
4. This technology enables highly accurate analysis with a mold flow simulation.
With an accurate digital twin of the physical mold, a mold flow simulation is more reliable. Furthermore, full-field data provides actionable insights so you can quickly see where a part is in or out of tolerance and understand where to adjust the mold accordingly.
5. For high-volume manufacturing, non-contact blue light 3D scanning is the key to increasing throughput and productivity.
Automating measurement and inspection processes improves throughput, repeatability and productivity without cutting corners on quality.
By expanding measurement and inspection capabilities, non-contact blue light 3D scanning is a quality-control technology that improves mold building processes, ultimately resulting in a significant ROI.
RELATED CONTENT
-
Shared Engineering Expertise Overcomes Design and Delivery Challenges
Collaboration on part and mold design between a molder and mold builder were vital to overcoming design and production challenges for a unique automotive project.
-
Exploring ISO 9000 -Part 14 Corrective and Preventive Action
A Series of International Standards for Quality Management and Quality Assurance
-
Breaking Down 3D Scanning in Moldmaking
Identifying 3D scanning requirements and implementing the appropriate technology.


